You have always wanted to try infrared photography, but you've been lead to believe that this can only be done using expensive IR cameras? This article is for you! Read about how you can build yourself a digital IR camera for just a few dollars.

"Infrared in Sykesville, MD" captured by Sean Naber (Click Image to See More From Sean Naber)
Notes to the ReaderThis article covers some of the basic principles of IR photography. It also tells the story of a project involving the modification of a number of digital cameras. The cameras were converted to be used as IR cameras. The aim of the project was to do the IR conversion as cheaply as possible.
Important disclaimer: Taking apart a perfectly good, fully functional, digital camera, is risky in more ways than one. There is the possibility of electrocution (through highly charged capacitors within the camera) and there is a real chance that the camera may never work again. I take no responsibility for any such mishap. The risk is yours completely; so are the rewards afterward if you get it right!
At the time of writing this, the NZ$ is worth about 70 cents American.
The Trigger and the MotivationI am a simple man. I sometimes get involved in projects of a complex nature and may on the odd occasion fiddle with technologies which may be classed as "modern" or "advanced." By nature, though, I like to simplify things if at all possible. I also believe that many times we are precluded from doing worthwhile things by society telling us, "It's difficult," "It's too expensive," or "You'll never be able to do that. Only certain people can do that, and you are not one of them."
In this article I aim to prove to you that you too can do IR photography. In fact, you can produce stunning IR photos using a home-built camera on a very tight budget if:

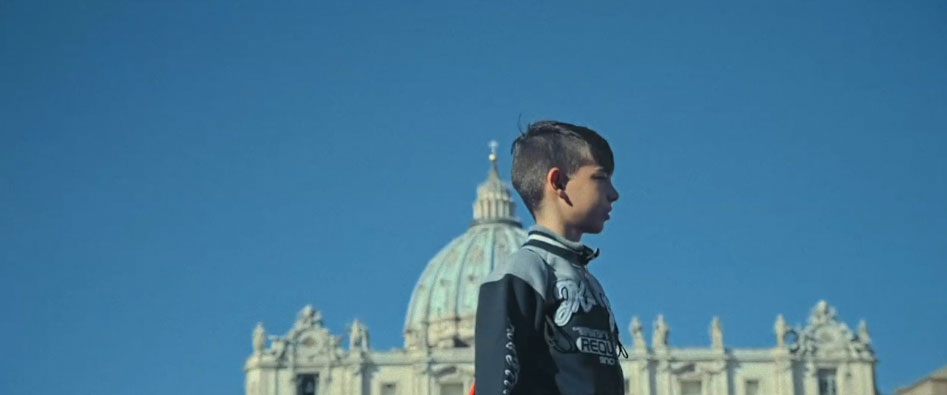
Photo captured by Ruel Tafalla (Click Image to See More From Ruel Tafalla)
ResourcesBefore you set off on this journey, you may want to get some more information on the subject. Fortunately there is a lot of information accessible on the Internet.
For information on camera conversions:

"Greenwich Park" captured by Sean Nel (Click Image to See More From Sean Nel)
In some instances, the articles mentioned above will give you all the details needed to convert a specific camera. Some of them refer you on to other sites where once again modifications to cameras are described and detailed. Even if you do not intend to convert one of the cameras covered in these articles, it is worth the while to scan through them. You then get an idea of what a digital camera looks like on the inside and how they are constructed. You will learn a lot by just scanning through the articles contained in this list!
Some more information on IR photography (using digital cameras) can be found at LifePixel and other similar sites.
You can also search the Internet for sources of your own using phrases such as:
You may also go to a local library and ask about IR photography. Many libraries will only have books and references on IR film photography but you may be lucky and get info on digital photography from yours. It all depends on how modern and up-to-date your library services are.
IR Photography ConceptsI am going to assume that you have a basic grasp of the principles of IR photography. Even though you need not be an expert on these, I suggest you familiarize yourself with the following before you proceed with this article:
The mere fact that you are reading this article tells me that you have an interest in IR photography. You may also be keen on taking your own IR photos and manipulating them. I take that to be a good sign and trust that you will "fill in the gaps" around missing information where and when needed.
From experience I can tell you that:

"IR Queen's" captured by Reza (Click Image to See More From Reza)
What You NeedYou will need the following during the construction phase of your IR photography project:
Basic Tools

Infrared Photography Tools
You may not need all of the tools shown in the two photos. Most are cheap and easy to find.

Additional Infrared Photography Tools Needed
Once you have completed your camera you will need:
Proceed to Part 2: My Own Infrared Camera Project
About the author:Pieter Albertyn is a self-confessed "tinkerer" and amateur photographer. He lives in Napier, New Zealand. Pieter has previously been involved in product development and systems engineering. He loves to modify utility products, enhance their features and develop basic logistical support systems for them. Though he works in an English dominated workplace, English is his second language.
Source: Infrared Photography: Tips on How to Get Started


 Screenshot via